When we started working on Harvest back in 2015, I had just graduated college and still had access to the student license for Autodesk Maya that I’d used for class. Fast forward three years to the start of our work on Interference, and that student license was no more. So we had to decide on a 3D modeling solution.
While Maya is fantastic software that I had grown quite fond of using as a student, Blender was my first foray into the world of 3D modeling. As a freshman in high school, I installed Blender with no idea how to use it and picked up a copy of Blender For Dummies (for real). I never made anything particularly impressive back in those days (I’d probably be equal parts impressed and embarrassed if I dug up my first Blender animation, an exciting clip of a rhino charging at the camera), but Blender’s depth of features and relative ease of use left an impression on me, and I was excited to spin it up again.
Getting Started!
I’ll admit I was frustrated when I first started tinkering with Blender again after all those years. I started out using the Maya key bindings to ease the transition, but this made reading documentation and following tutorials significantly less helpful. So I ripped off the Band-Aid and switched back to Blender’s native settings, essentially starting back at square one. Only no Blender For Dummies to help this time.
Relearning things you already know how to do is a humbling experience. There are still times I need to do simple things in Blender that require a Google search that feels a little silly, but figuring out how to do it for next time is consistently rewarding. Before long I was inserting edge loops, extruding faces, and unwrapping UVs like old times. But the learning process is never really “finished”.
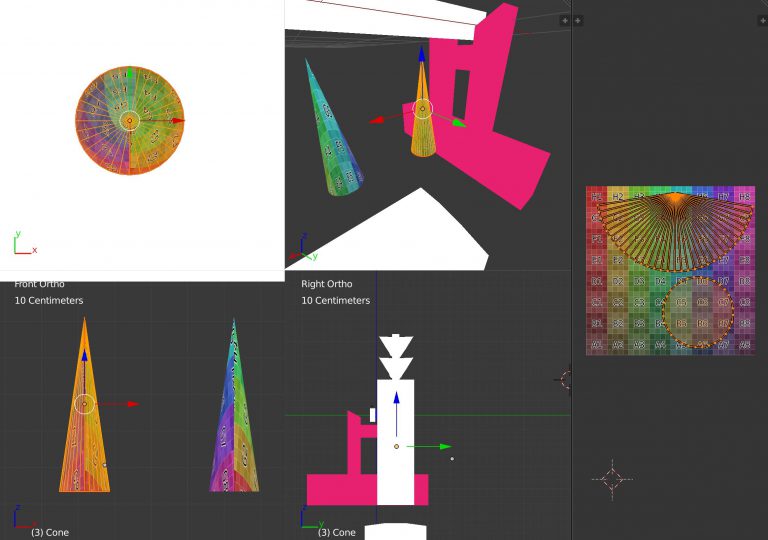
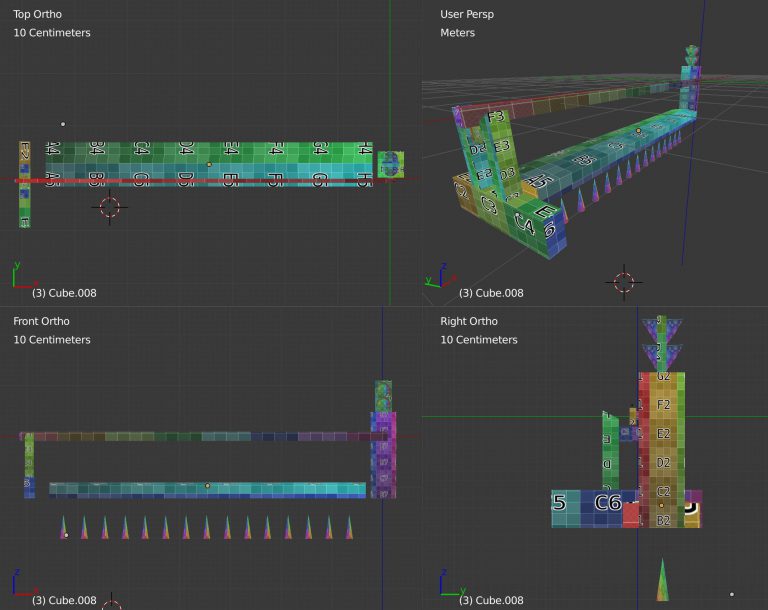
UV Mapping Cones Is Hard
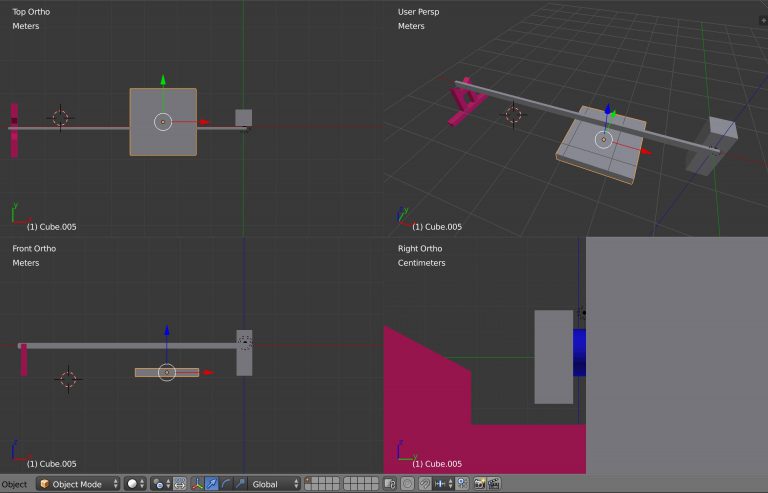
Very recently I had a brain fart where I confused radius for diameter and spent a good half hour banging my head on the wall because simple cylinders and cubes were importing to Unreal twice as big as I expected them to be. I didn’t have my Blender UI set up at the time to show the object dimensions panel, which would have been a 10 second sanity check if I’d just thought to look. But out of sight out of mind, and I completely ignored Occam’s Razor to try to find a more complex solution. It was frustrating at the time, but I’ll never neglect to check my object’s dimensions next time I’m dealing with object scale, even if they’re not immediately right in front of me.
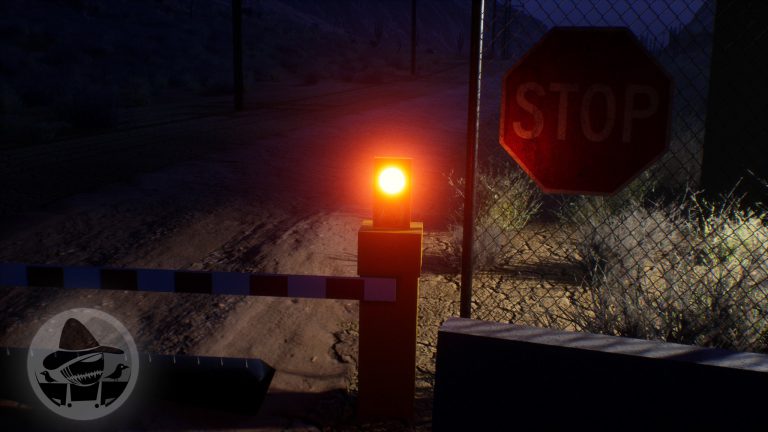
Looking Fresh!
It’s been nearly a year since we started work on Interference and made the choice to use Blender as our 3D modeling tool, and we haven’t regretted it once. It’s an amazing piece of software that can really hold its own against pricier competition. Knowing it’s open source just makes it all the more impressive and rewarding to learn, and not just because of its price tag.
I owe my interest in 3D modeling and animation to Blender, and it feels great to finally have an awesome project to really do it justice (with all apologies Rhino Charging At The Camera, 2008).